
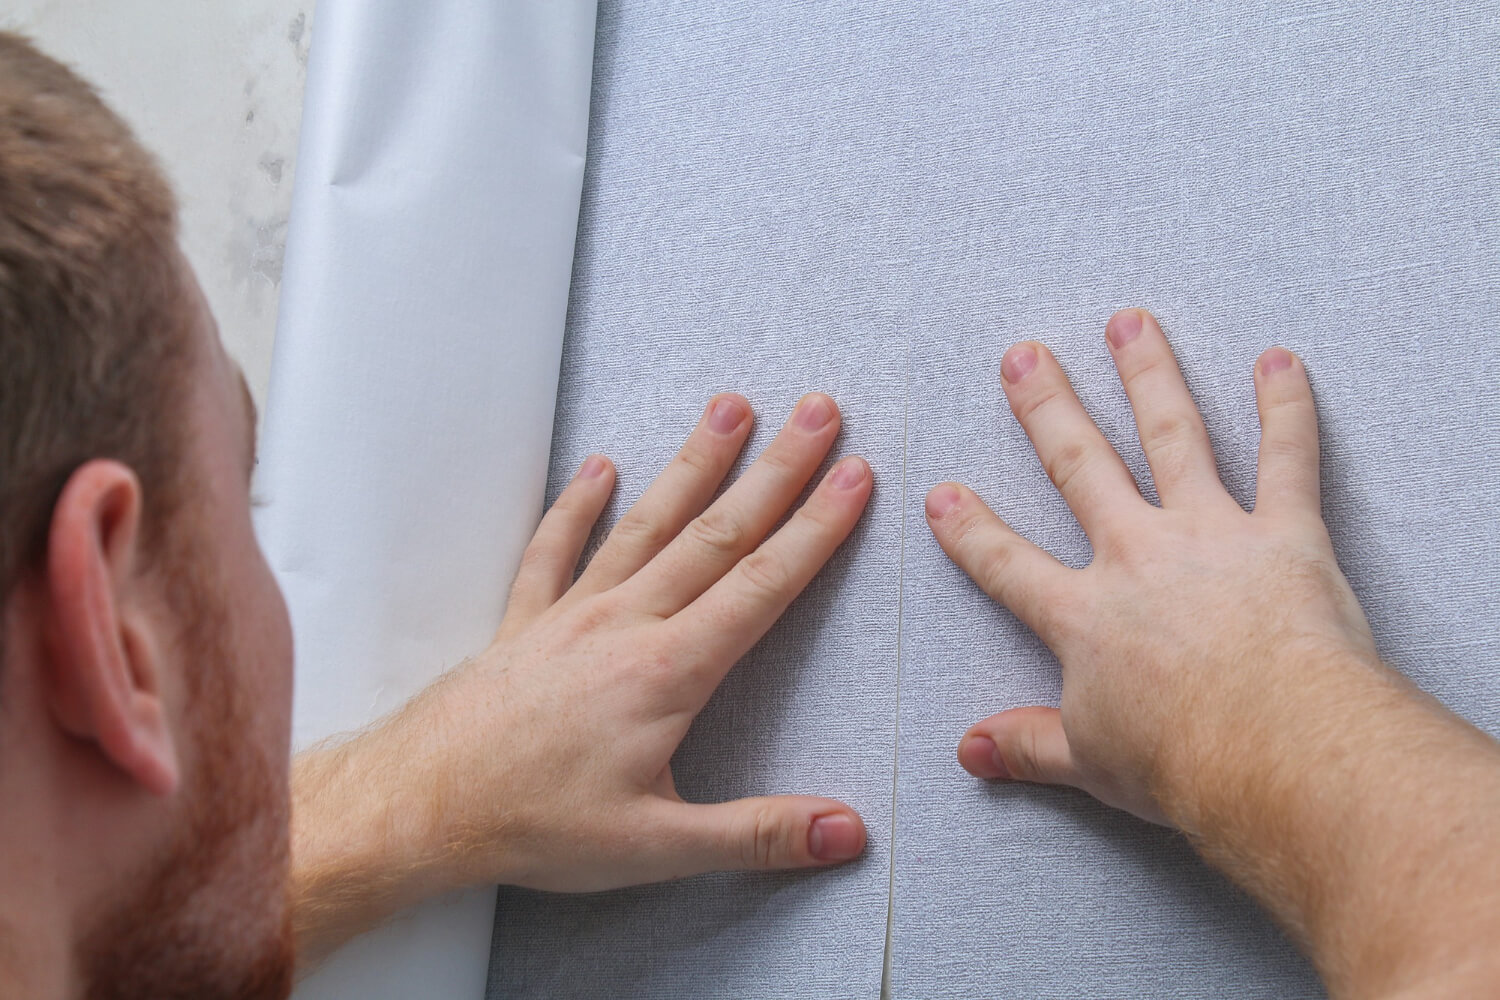
Hanging wallpaper is one of the easiest ways to refresh a room’s design. However, if the walls are not properly prepared or the wallpaper is incorrectly applied, bubbles, wrinkles, and peeling can appear. To avoid these issues, it’s important to follow the correct technique. In this article, we’ll walk you through how to properly hang wallpaper without bubbles and share expert tips for achieving a smooth and professional finish.
1. Proper Wall Preparation
Before applying wallpaper, you need to prepare the wall surface, as even small imperfections can cause bubbles.
How to Prepare Walls?
- Remove old wallpaper, paint, and dust from the surface.
- Fill cracks and uneven spots with spackling compound.
- Sand the walls to create a smooth surface.
- Apply a primer to enhance adhesion.
2. Choosing and Preparing the Adhesive
The type of adhesive depends on the wallpaper material (paper, vinyl, or non-woven). Mix the glue according to the instructions, ensuring a smooth consistency.
Common Mistakes to Avoid:
- Too thick adhesive – causes lumps under the wallpaper.
- Too watery adhesive – weakens adhesion and leads to peeling.
- Uneven application – results in air pockets and bubbles.
3. Measuring and Cutting Wallpaper
Use a plumb line or laser level to ensure straight alignment. Cut wallpaper strips with an extra 2 inches (5 cm) at the top and bottom for adjustments.
4. Applying the Adhesive
The application method depends on the type of wallpaper:
- Non-woven wallpaper – apply adhesive directly to the wall.
- Paper and vinyl wallpaper – apply adhesive to the wallpaper and let it soak for 5-10 minutes.
5. How to Hang Wallpaper Without Bubbles?
Follow these steps for a smooth application:
- Align the first strip with the marked guideline.
- Smooth the wallpaper from the center outwards using a wallpaper brush or roller.
- Wipe off excess adhesive with a clean cloth.
- Check for wrinkles or air pockets and remove them immediately.
6. Fixing Air Bubbles
If bubbles appear after drying, here’s how to fix them:
- Small bubbles usually disappear as the wallpaper dries.
- Larger bubbles can be punctured with a fine needle, and adhesive can be injected using a syringe before smoothing out the surface.
7. Final Touches
- Trim excess wallpaper along the ceiling and floor using a sharp utility knife.
- Allow the wallpaper to dry for 24 hours with windows closed (drafts can cause peeling).
When Should You Hire a Professional?
Consider professional installation if you have:
- Complex wall surfaces (brick, drywall, or textured walls).
- Expensive or delicate designer wallpaper.
- A tight deadline and need a perfect, hassle-free result.
ProFixLA provides expert wallpaper installation services, ensuring a flawless finish without bubbles or imperfections.
Contact Us!
- Phone: +1-747-488-0847
- Telegram Chatbot: ProFixLA Bot
- Website: ProFix LA